
The Long Thread was one of the very first sewing and craft sites I ever found and checked in on regularly. Ellen is a sewing guru, and her site is fun and stylish. So when she asked me to participate in her HandMayde series this month, I was pretty excited.

This week is all about kids. Today I'm sharing a project that your kid can help you make, and then play with long after. And you get to repurpose all those empty thread spools.
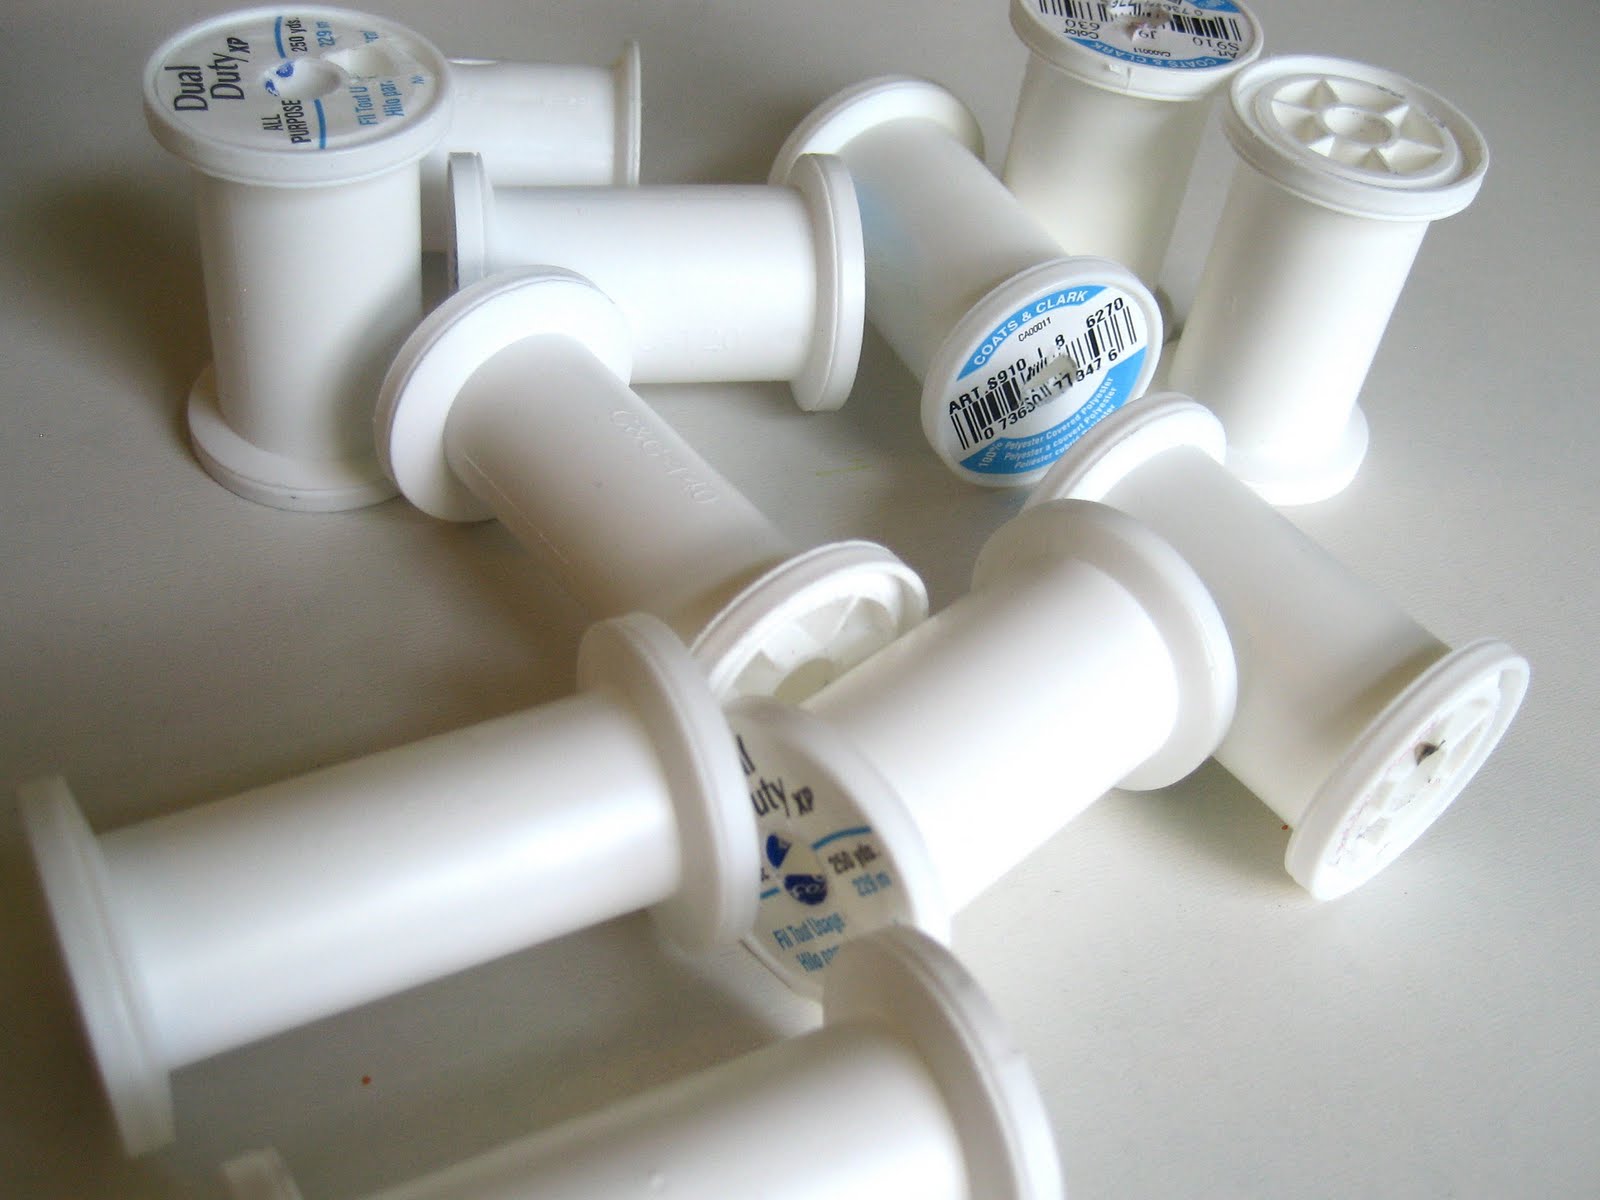
If you are like me, you hang on to all your empty spools and have no idea why. Mine have been collecting in a little pile by my sewing machine for some time. Not you? If you are not that neurotic, then start hoarding now!
And if your two-year-old is like mine, he loves his old wooden (or plastic) ring stacker toy, but it's become way too easy for him to do. This version is more of a challenge to toddler coordination, and it adds color-sorting to the fun.

So let's get started.

1. Masking tape
2. Contact paper
3. Kid paints (4 colors) and paintbrush or sponge
4. Chunk of wood at least a couple inches deep. Mine is 2 x 10 inches. You can use what you find or buy a piece from the craft store.
5. Four wooden dowels small enough to fit thru your spools. I bought this six pack of white ones at Michael's for a couple bucks.
6. A drill
7. Plastic thread spools, I used 12.


While he was painting those, I was also painting the dowels in each of the colors we used.


Wrap up the spools, making 3 in each color. I think the texture of the painted tape is pretty cool looking.


Stick your dowels in the wood and the new toy is ready for stacking and sorting. Hendrix has loved playing with his all week. (Of course, I supervise so that he doesn't have any bright ideas like using it as a landing pad while jumping off the couch.) He's always very proud after he successfully gets all the spools on.
I've also been thinking of some fun ways you could use tape painted this way- pretty packaging and gift wrapping, kid-art displays, rotating photo galleries, more colorful memos and reminder notes... I'm sure you could think of lots more. It's a good alternative to shelling out the cash for specialty tapes.
Thanks for reading everyone, and have fun with your repurposed spools and pretty painted tape!

Great idea. I knew there was a reason to keep all those empty spools...
ReplyDeletevery clever and cute!
ReplyDeleteVery cute! Use thread much Jessica? Hahahaha
ReplyDeletexoxo
Janee
yellowbirdyellowbeard.blogspot.com
Just wanted to let you know we've featured your blog post at Craft Buds today!
ReplyDeletehttp://www.craftbuds.com/fresh-picks-for-wednesday-5-25-11/